Getting Started
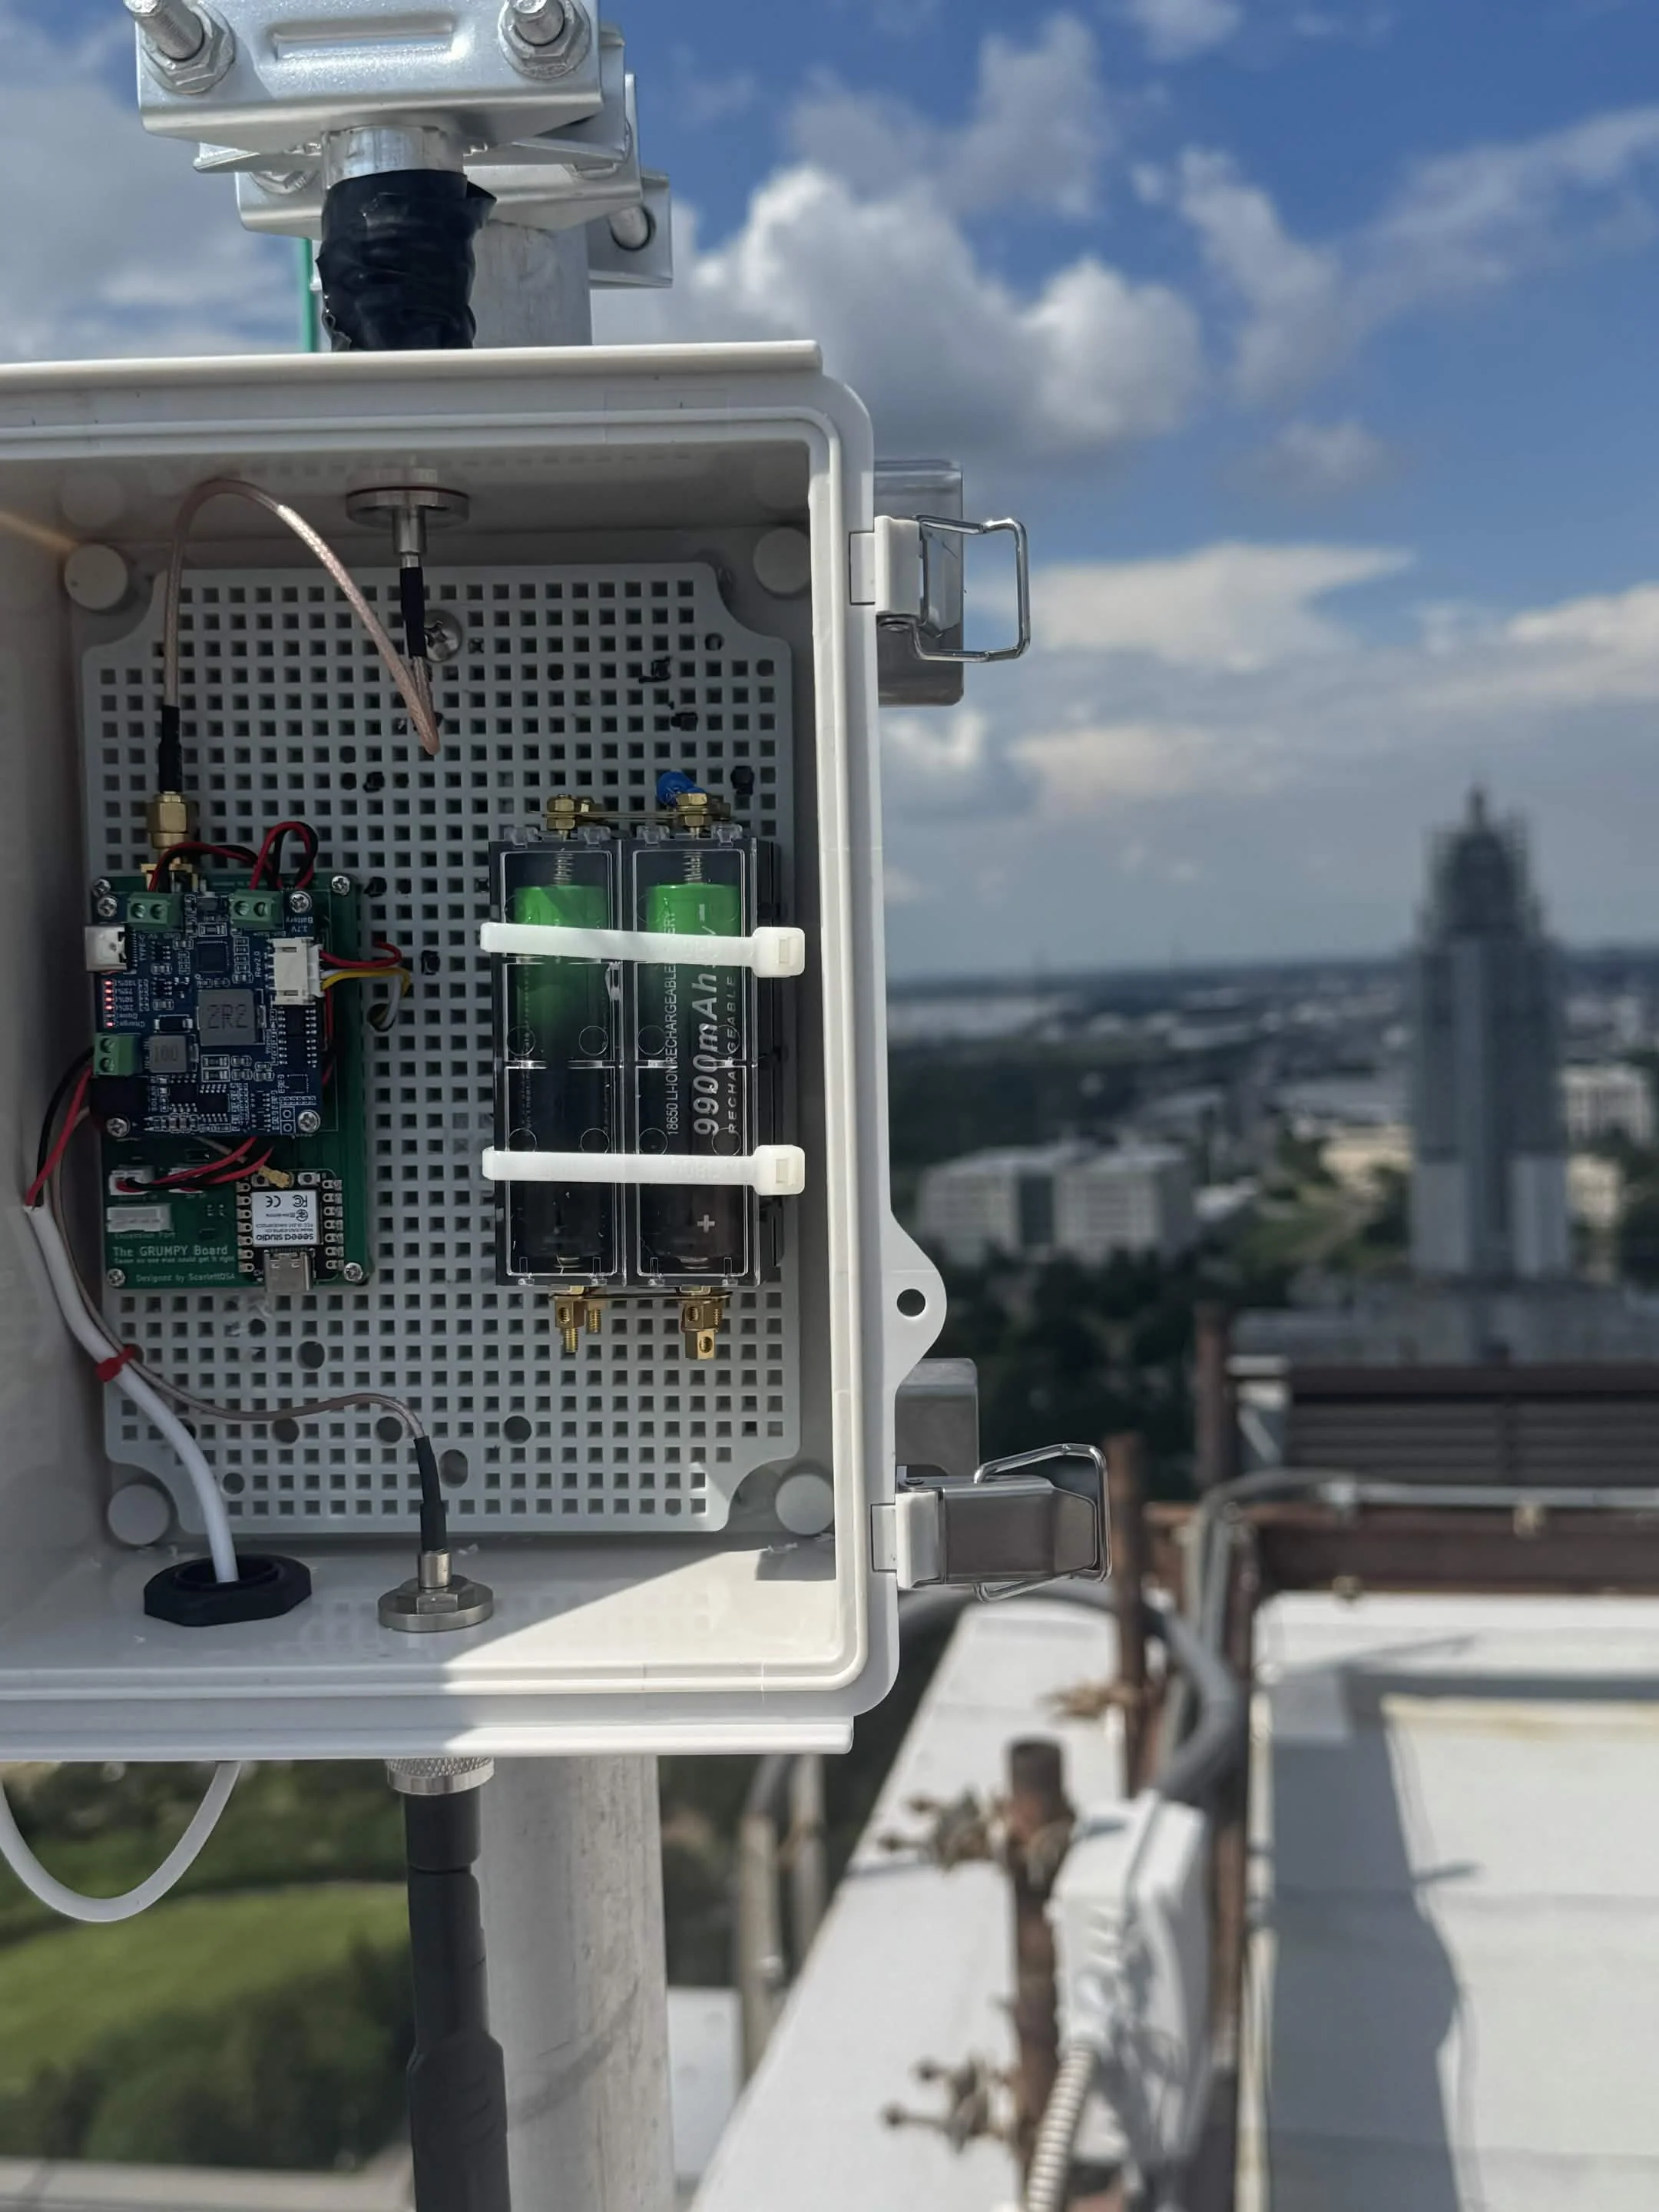
Do not power on the board without an antenna attached. Doing so may damage the board and void exchanges.
Thank you for buying a Grumpy Board
This guide will explain how to assemble and set up your Grumpyboard from start to finish.
Each board purchased comes with the following:
- 1x GrumpyBoard
- 1x Waveshare Solar Board
- 2x JST-PH Power Leads
- 1x Wi-Fi antenna
- 1x Quality Control Card
- 1x Getting Started Guide (which brought you here)
How to assemble your board
To get started assembling your board, you'll need the following:
- A Phillips screwdriver
- A small flathead screwdriver
- Unbox your board: Remove your board from its bag, along with the solar board and the included parts.
- Remove the standoffs: Included with your Waveshare are 4x standoffs. We will be swapping these for the longer standoffs included in the bag. Use your Phillips screwdriver to remove all 4x screws (save these; you will be using them later).
- Attach your standoffs: Inside your bag, there will be 4x 10mm 2.5mm standoffs. Using the screws that came with the Waveshare, attach each standoff to the Waveshare solar board.
- Install the Waveshare on your Grumpy Board: Using the 4x 6mm 2.5mm screws included in the bag, place the Waveshare on the Grumpy Board with the USB-C port facing the right side of the Grumpy Board. Loosely install 2 screws to align the standoffs correctly, then insert the other 2 screws diagonally and tighten all 4.
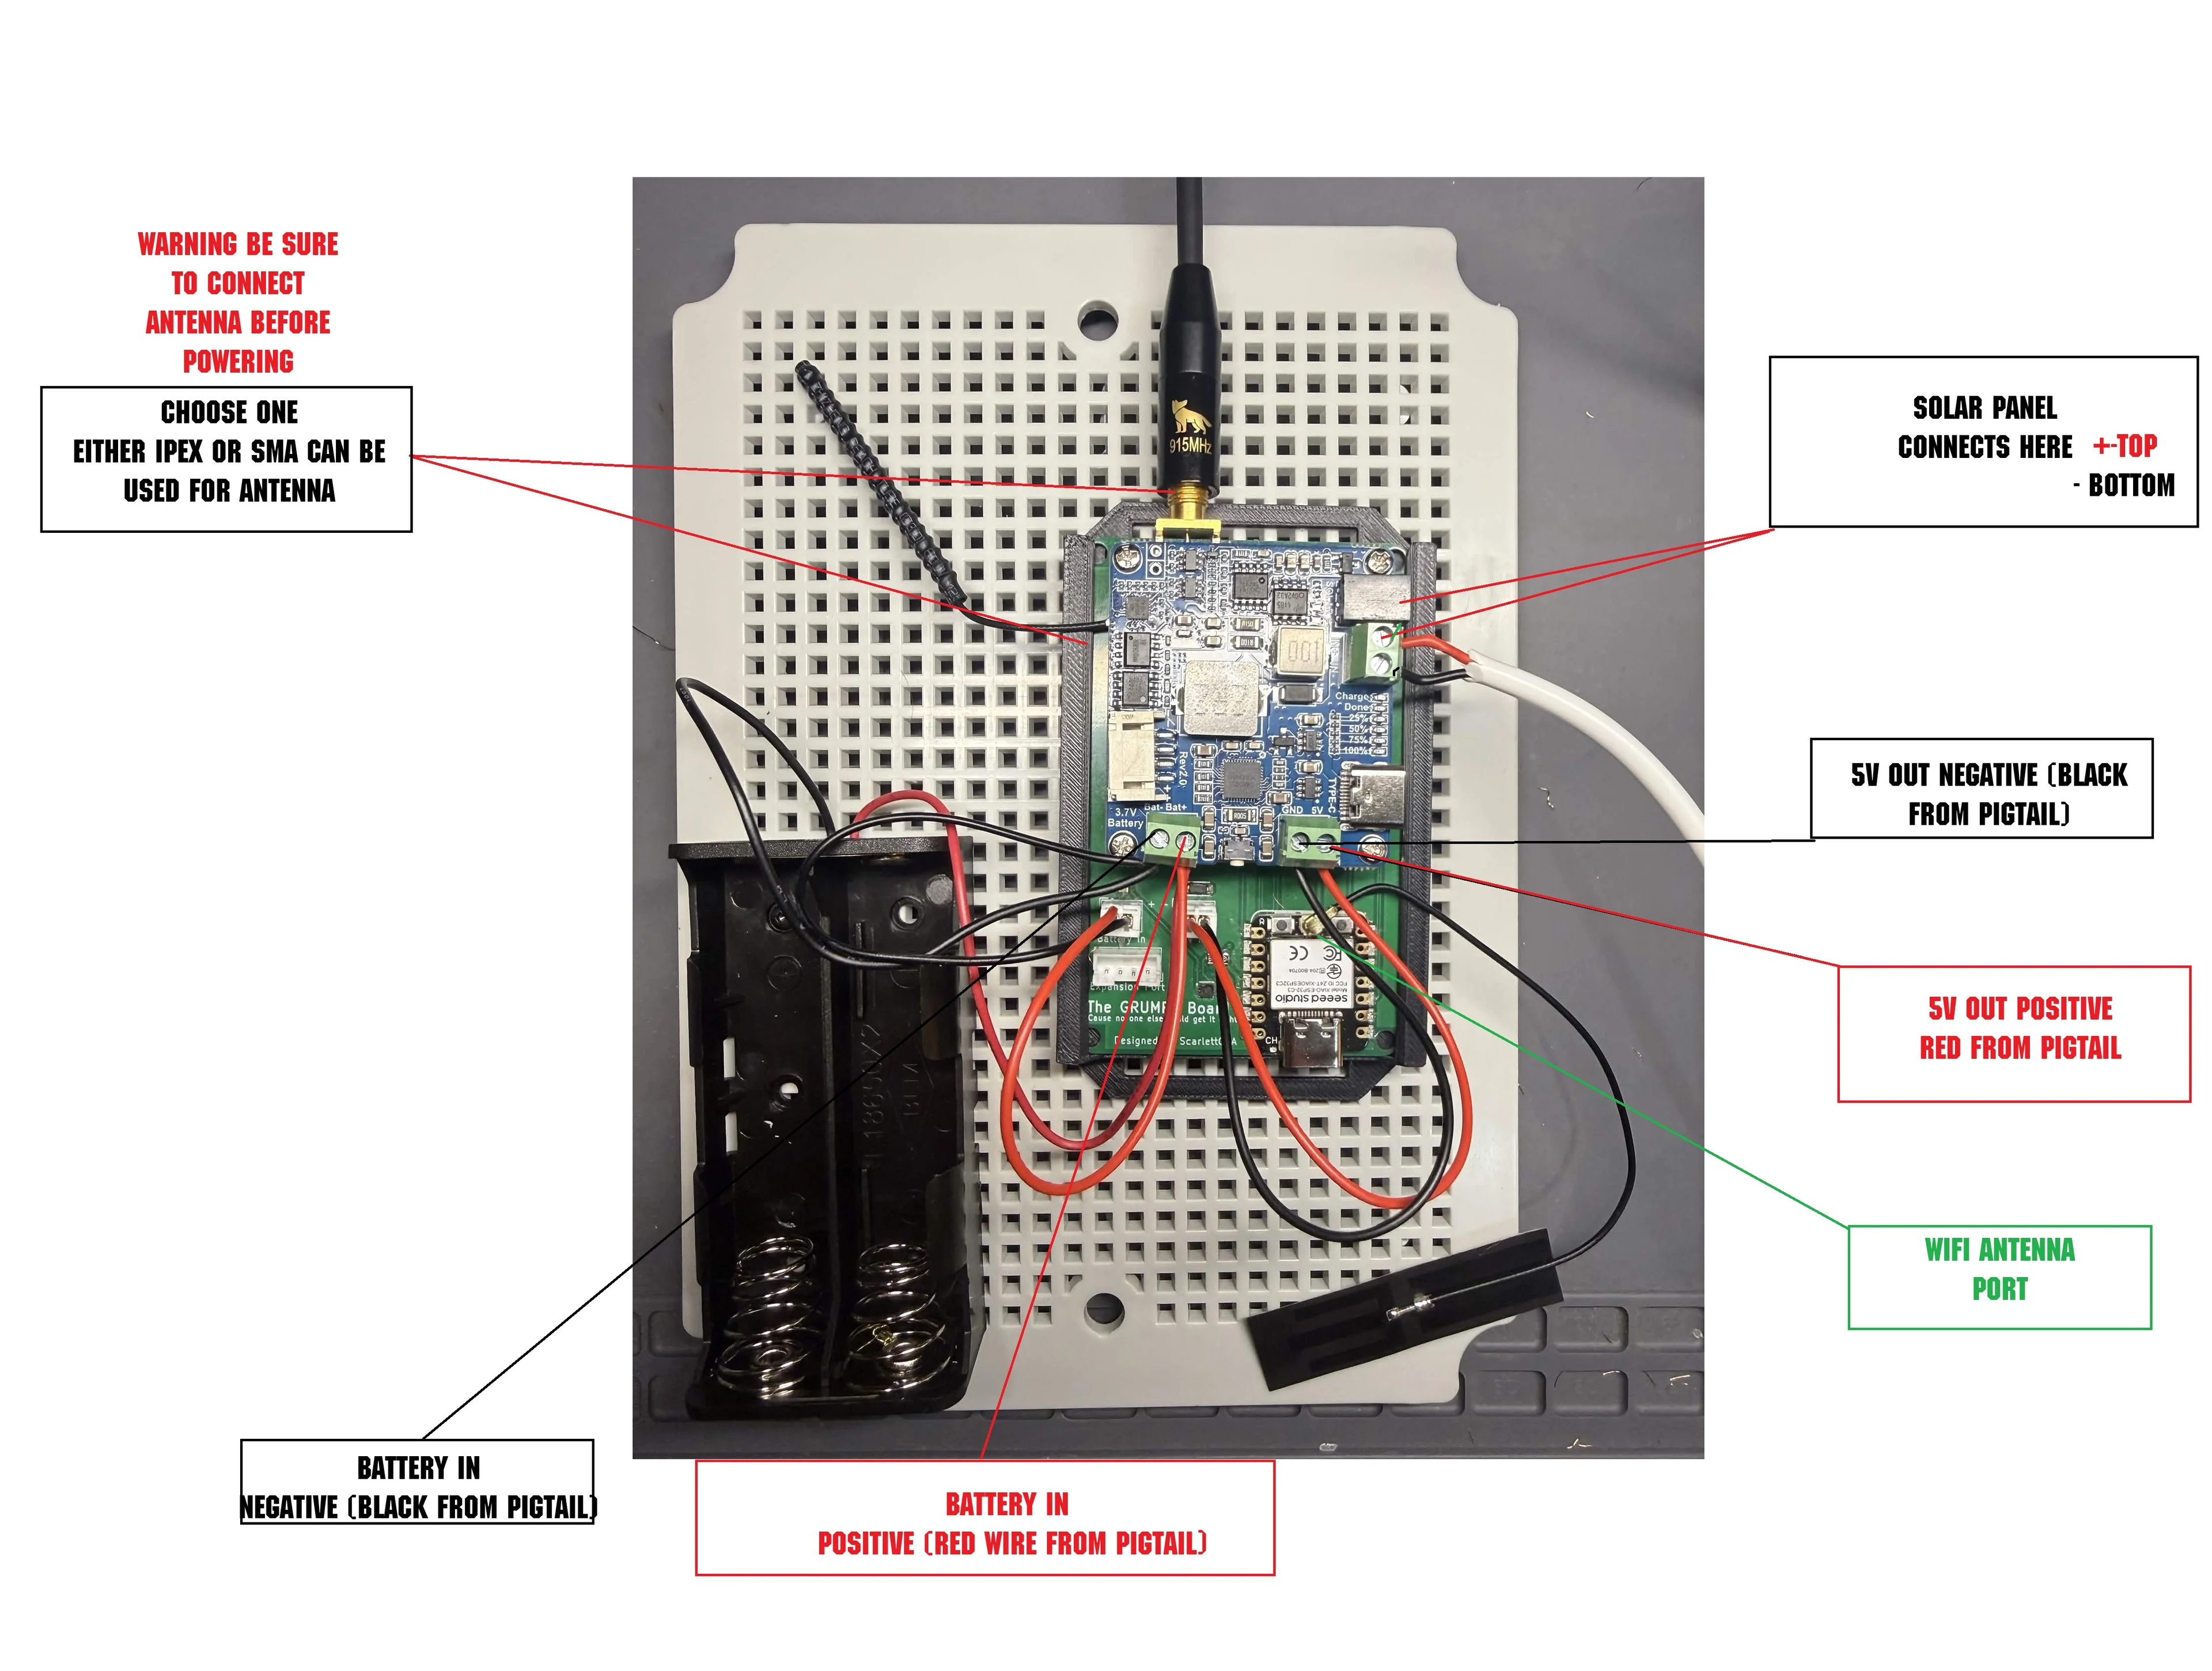
- Wire your battery: Using your flathead screwdriver, loosen the 2x wire terminals on the bottom of the solar board. Attach one of the JST-PH Power Leads included in your order to the left battery port on your Grumpy Board. Take the red wire from the lead and connect it to the left wire terminal on the right port labeled "+" on the board. Connect the black wire to the right wire terminal on the left port labeled "-". You can now wire your battery into this port, connecting the negative wire to "-" and the positive wire to "+".
- Wire your 5V power source: On the other side, repeat the same process. Plug the other included JST-PH lead into the right 5V power input port. Connect the red wire from this lead to the left wire terminal on the right port labeled "+", and connect the black wire to the right wire terminal on the left port labeled "-". You can now wire your 5V power source into this port, connecting the negative wire to "-" and the positive wire to "+".
- Tighten everything, and you're done! Inspect the wires and make sure they are all connected to the correct ports. Tighten the 4x wire terminal screws and visually inspect the entire board. You now have a finished and assembled Grumpy Board.
How to flash your board
To get started flashing your board, you'll need the following:
- A computer running Linux, Windows, or macOS.
- A USB-C cable that can handle data and power.
- An SMA or IPEX antenna in the 915 MHz range.
- Connect the antenna: Insert the included IPEX Wi-Fi antenna into the ESP32 connector positioned near the USB-C port.
- Attach your antenna: Connect your SMA or IPEX antenna to the board using either the SMA mount on top or the IPEX port beneath it.
- Connect via USB-C: Plug a USB-C cable into the GrumpyBoard and connect the other end to your computer.
- Put the board into boot mode: Hold down the left button on the Grumpy Board, then press the right button once. Release the left button, and your board will now be in boot mode.
- Visit the flashing portal: Navigate to Grumpymesh.com/flasher in your web browser.
- Choose firmware: Select the firmware type you prefer: Client or Repeater.
- Select whether you'd like Wi-Fi configuration: If you choose Repeater, you will be asked whether you'd like to configure the board via a Wi-Fi web portal. If you choose to enable it, the board will create a Wi-Fi access point called "Grumpymesh" after it reboots for the first time. You can then use this portal to configure the board's settings via a phone or computer.
- Flash the firmware: Click Erase and then click the Flash button. Your browser will ask you to select the device at the top left.
- Wait 1–2 minutes: After the flashing process is complete, you will have a flashed GrumpyBoard ready to use.
How to configure your board
Repeater
Via Wi-Fi portal
Coming Soon
Via USB
- Plug in via USB-C: Plug a USB-C cable into the GrumpyBoard and connect the other end to your computer.
- Open the web configurator: Navigate to Grumpymesh.com/flasher in your browser. Click "Repeater setup" on the left side.
- Click Connect: At the top right, click Connect, then select the Grumpy Board at the top left.
- Program: Follow each section and enter the required information.
- Click Save: Click Save at the bottom right.
You now have a fully finished Grumpy Board!